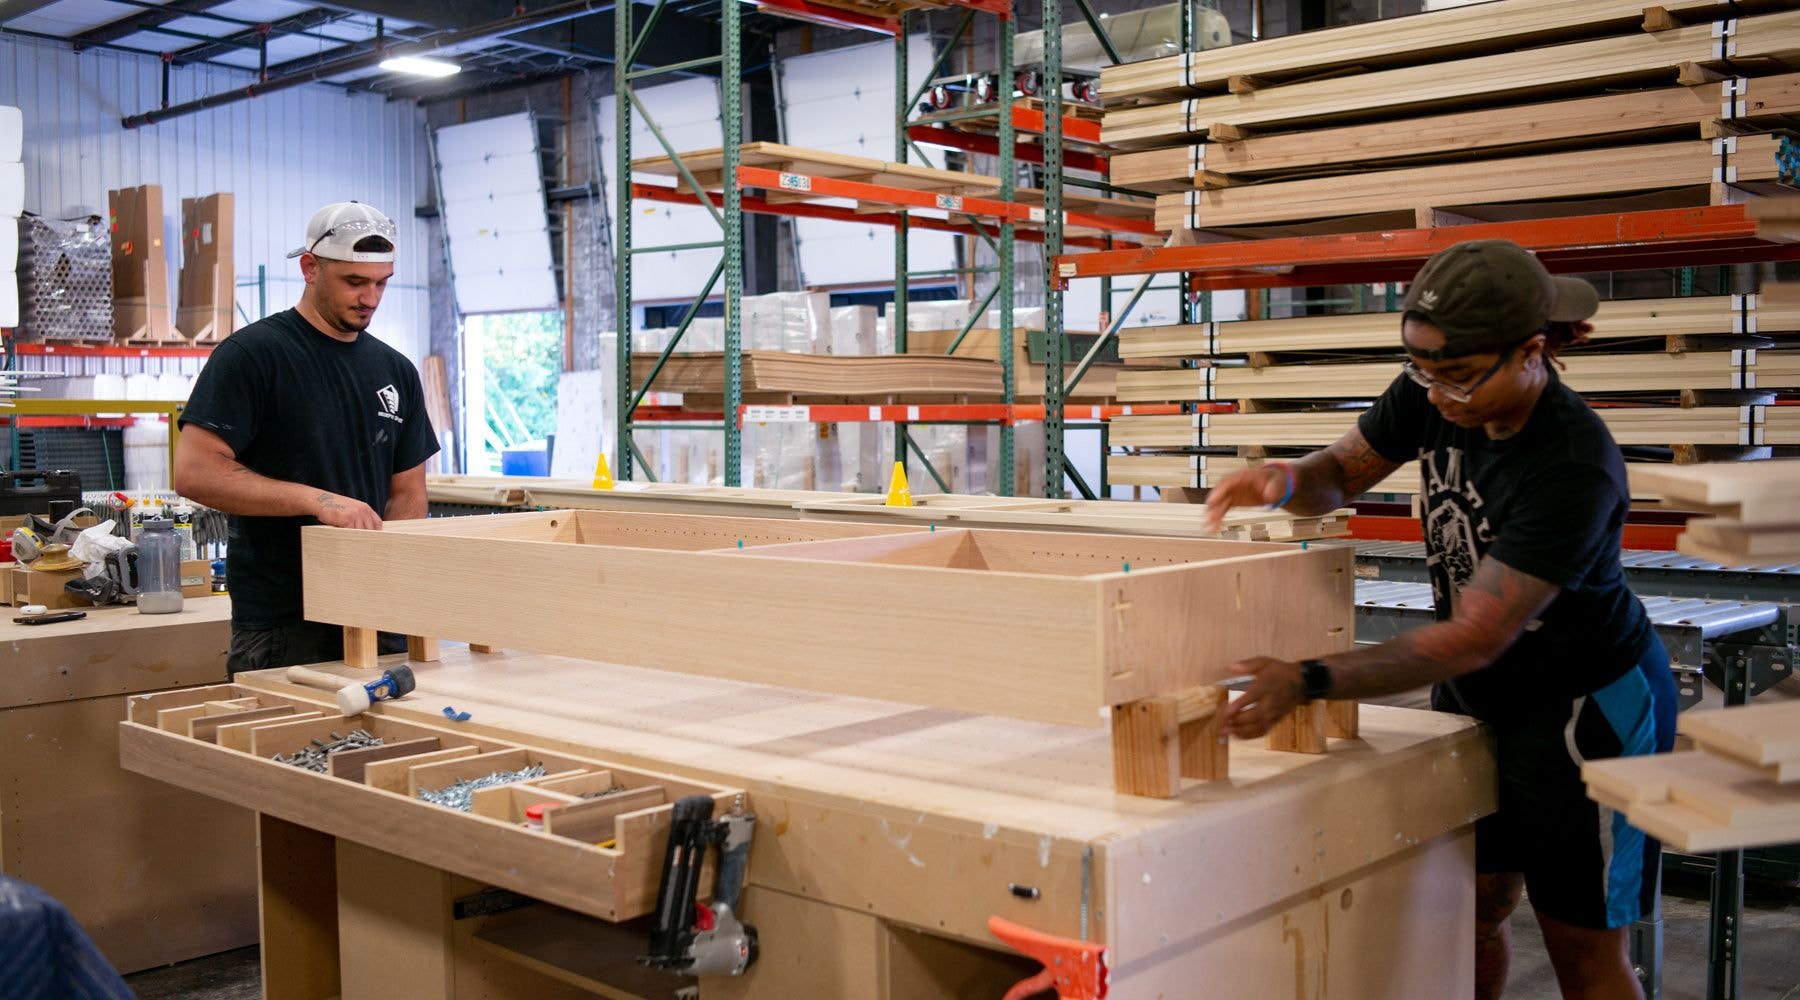
Process

Unfinished room with white walls during renovation, doorway opening to hallway, concrete floor and exposed electrical outlets.
Murphy Door® product series number 01 - blue numeral on white square background with navy border.

Getting Started

Determine the location of your secret door and which spaces it will connect. Then, select a door style to match your space

Getting Started

It all begins with imagining the potential of your hidden door. Are you looking to improve security or are you drawn to the novelty of a hidden door? Either way, there’s a place in your home for a Murphy Door.

Consider functionality. Our bookcase door is perfect for concealing a man cave or safe room, but a hamper door would make a great addition to your bedroom or laundry room. Determining how you will use your door will lead you to the perfect style.

Carpenter measuring wooden door frame during Murphy Door® installation, wearing black cap and t-shirt in home renovation setting.
Murphy Door® numerical label "02" in dark teal on white background, part of product navigation.

Measuring

Watch the video to see exactly where and how to measure. Measurements can be taken on a pre-existing door frame or in a wall’s rough opening where a door frame has been removed or not yet placed.

Measuring

Grab a tape measure — that’s all you need.

https://youtu.be/ObZptTsnA0Q

This step is important; take extra care when measuring. For a hidden door to be truly “hidden,” a perfect fit is necessary. We recommend you always double-check your measurements before completing your order.

Person working at laptop in bright kitchen with wooden table and small potted plant, exemplifying Murphy Door's home workspace solutions.
Number 03 in white text on teal background within a square frame, Murphy Door® branding element.

Placing an Order

With your measurements made and your door style selected, complete your order online by selecting a few final customization options. Choose your preferred wood type and finish, swing direction, casing, and more.

Placing an Order

Select from 8 wood types, including oak, maple, knotty alder, cherry, paint grade (standard and moisture resistant), hickory and walnut. Then, select from a variety of finishes, including a mix of stains and paint colors, to match the existing style of your space.

The swing direction dictates the space into which your door will open as well as which side of the door will be hinged to the frame. Choose the same options as your existing door, or think about the function and design of the connecting spaces to determine the best option.

4 9/16 inches is the standard, most common size for a door jamb. However, we also offer 6 9/16 inch jambs and custom jamb depths to accommodate walls of all sizes. (Review the video in Step 2 above for help measuring your jamb.)

Depending on your door style, you may also need to select options such as your cabinet hardware, cabinet door style, chalkboard or mirror finish, or your desired number of shelves. Each door style’s customizations will vary.

Finally, select a front and rear casing style — standard or fluted. Standard casing is flat style molding, while fluted casing is molding with grooves or “ribs” that run the length of the trim. We recommend looking at the existing molding in your spaces to determine which would fit best.

Some door styles include the option for our popular mechanical key and lock system. This allows you to lock the door from the “front” of the hidden door, or the side that features a specific design. The locking system will be included in your shipment but will require additional assembly.

Two people installing a Murphy Door® hidden door panel outside a brick building in a parking lot.
Murphy Door® icon with bold navy blue number "04" on white background in square frame.

Receiving Your Order

After your order is placed, we’ll send regular updates as your door moves through production. You’ll be the first to know when it’s headed to your home so you can sign on delivery. Be sure to check for damage on arrival, and have a dolly or second set of hands nearby.

Receiving Your Order

Your door is not installed at delivery. For what to do after your door arrives, see Step 5 below.

You can expect your door to arrive 4 to 6 weeks after you place your order. We ship each order through and will send you a tracking number as soon as it ships so you can plan for delivery.

Your signature is required at the time of delivery. As soon as the door arrives, inspect the packaging for damage. If damage has occurred in transit, don’t accept the package; we will have it shipped back to us and will send you a replacement.

Your door will be dropped off in its packaging outside your home. is not responsible for carrying your Murphy Door into your home. Make sure you have either a multi-purpose dolly on-hand or another person to help you move the door into your home. Before installation, it’s best to leave the door sitting upright or laying flat; don’t lean the door against a wall.

Person installing a Murphy Door® lock system with a blue power drill, securing hardware on a dark door frame.
Number 05 in white text against a dark teal square background, Murphy Door® branding element.

Installation

Because your Murphy Door arrives completely assembled and finished, installation only requires fitting and securing your door into the rough opening of your wall.

Installation

We’ve created step-by-step instructions so any Murphy Door can be installed by yourself. We recommend this approach for the fairly experienced DIY-er. To get started or see if DIY is right for you, view our resources here

We highly recommend downloading the BILT app if you’re going the DIY route. It’s completely free and easy to keep at hand when installing. Download for free and search “Murphy Door” to pull up narrated and illustrated mobile versions of all our installation guides.

We know that DIY installation isn’t for everyone. Whether you want the convenience of outsourcing installation or you don’t trust your power tool skills, third-party installation is a popular choice for many of our homeowners.

If you’d rather have your trusted local contractor or carpenter handle installation, we have resources for them, too. Here are some helpful links to share with them regarding Murphy Door’s installation process.

Person installing a Murphy Door® hidden door with a Makita power drill, working on door hardware in a wooden frame.

Questions and Troubleshooting

If questions or issues pop up at any point, check out our FAQ page. We update it regularly with our most common questions so you can find what you need quickly.

If you can’t find your answer there, try our chat feature. It connects you directly with a member of our service team who can dig a little deeper to find the right solution. We try to answer all questions within.

SEE FAQS